You can configure Error Reporting to send notifications through
Cloud Monitoring channels, alerting your team in real time when new errors
occur or when resolved errors recur.
Error Reporting triggers notifications in the following
scenarios:
- When an error event can't be grouped with existing errors, indicating a new issue.
- When an error event occurs in an error group marked as **Resolved**, indicating a regression.
## Before you begin
1.
To get the permissions that
you need to configure notifications in Error Reporting,
ask your administrator to grant you the
following IAM roles on your project:
- Configure notifications in Error Reporting: [Error Reporting User](https://docs.cloud.google.com/iam/docs/roles-permissions/errorreporting.md.txt#errorreporting.user) (`roles/errorreporting.user`)
- View notification channels in Monitoring: [Monitoring Viewer](https://docs.cloud.google.com/iam/docs/roles-permissions/monitoring.md.txt#monitoring.viewer) (`roles/monitoring.viewer`)
- Create notification channels in Monitoring: [Monitoring Editor](https://docs.cloud.google.com/iam/docs/roles-permissions/monitoring.md.txt#monitoring.editor) (`roles/monitoring.editor`)
For more information about granting roles, see [Manage access to projects, folders, and organizations](https://docs.cloud.google.com/iam/docs/granting-changing-revoking-access.md.txt).
You might also be able to get
the required permissions through [custom
roles](https://docs.cloud.google.com/iam/docs/creating-custom-roles) or other [predefined
roles](https://docs.cloud.google.com/iam/docs/roles-overview#predefined).
2. Verify that the notification channels that you want to use exist. For
Error Reporting, you can use
email, mobile, Slack, and webhooks notification channels.
1. In the Google Cloud console, go to the
**Alerting** page:
[Go to **Alerting**](https://console.cloud.google.com/monitoring/alerting)
If you use the search bar to find this page, then select the result whose subheading is
**Monitoring**.
2. In the toolbar, select **Edit notification channels**.
The **Notification channels** page opens and lists configured channels.
If the channels that you want to use exist, then the next step is to
configure notifications in Error Reporting. Otherwise,
create those channels. For information about how to complete the dialogs
for the different types of notification channels, see
[Create and manage notification channels in Monitoring](https://docs.cloud.google.com/error-reporting/docs/notifications.md.txt#create-and-manage).
## Configure notifications in Error Reporting
To select where you want to send notifications when new error groups occur,
complete the following steps:
1. In the Google Cloud console, go to the **Error Reporting** page:
[Go to **Error Reporting**](https://console.cloud.google.com/errors)
You can also find this page by using the search bar.
2. Click **Configure notifications** to open the **Error notifications** page.
3. In the **Notification channels** menu, select the channels that
you want to receive notifications.
4. After selecting the channels, click **Save**.
## Create and manage notification channels in Monitoring
You create, edit, and delete notification channels in Monitoring.
After you have created notification channels, you can configure
Error Reporting to use them.
Error Reporting lets you select from four types of notification
channels: email, mobile, Slack, and webhooks.
### Create a notification channel
To create a notification channel by using the Google Cloud console,
follow the channel-specific instructions contained in the following table:
### Email
To add an email notification channel, do the following:
1. In the Google Cloud console, go to the
**Alerting** page:
[Go to **Alerting**](https://console.cloud.google.com/monitoring/alerting)
If you use the search bar to find this page, then select the result whose subheading is
**Monitoring**.
2. In the toolbar of the Google Cloud console, select your Google Cloud project. For [App Hub](https://docs.cloud.google.com/app-hub/docs/overview.md.txt) configurations, select the App Hub host project or management project.
3. Click **Edit notification channels**.
4. In the **Email** section, click **Add New**.
5. Enter a single email address and a description.
6. Click **Save**.
If you use a group email address as the notification channel for
an alerting policy, then configure the group to accept mail from
`ErrorReportingNotifications-noreply@google.com`.
### Mobile App
Use the [Google Cloud console Mobile App](https://cloud.google.com/app) to monitor your
Google Cloud console resources and Monitoring
information from anywhere. Google Cloud console Mobile App notifications are either
sent to a specific device or to a specific user:

- **Device** indicates that notifications are sent only to the specific device that created the notification channel. For device-scoped notification channels, the **Display name** field includes device information.
- **User** indicates that the notifications are sent to all of your devices that have the Google Cloud console Mobile App installed.
Cloud Monitoring determines the notification scope when the channel
is created. You can't select or change the scope.
To configure a Google Cloud console Mobile App notification channel for a specific
Google Cloud project, do the following:
1. Install the Google Cloud console Mobile App from your mobile device's app store.
2. Select a project for viewing in the Google Cloud console Mobile App.
After you select a project, a data exchange between the app and
the selected Google Cloud project occurs.
A notification channel is created when one doesn't
exist, and after a few minutes, this channel is listed
under the **Mobile Devices** section of the
**Notification channels** page.
To add your mobile device as a notification channel for an alerting
policy, in the alerting **Notifications** section, select
**Google Cloud console (mobile)** and then choose
your mobile device from the list.
### Slack
> [!NOTE]
> **Note:** To complete these steps, you must be a Slack Workspace Owner or Admin. For more information, see [Managing invite requests](https://api.slack.com/admins/inviting).
To set up Slack notifications, do the following:
1. **In Slack** : Create a Slack workspace and channel at the
[Slack site](https://www.slack.com/). Record
the channel URL.
2. In the Google Cloud console, go to the
**Alerting** page:
[Go to **Alerting**](https://console.cloud.google.com/monitoring/alerting)
If you use the search bar to find this page, then select the result whose subheading is
**Monitoring**.
3. In the toolbar of the Google Cloud console,
select your Google Cloud project. For [App Hub](https://docs.cloud.google.com/app-hub/docs/overview.md.txt)
configurations, select the App Hub host project or management project.
4. Click **Edit notification channels**.
5. In the **Slack** section, click **Add New** to open the
Slack sign-in page:
1. Select your Slack workspace.
2. Click **Allow** to enable Cloud Monitoring access to your Slack workspace. This action takes you back to the Monitoring configuration page for your notification channel.
3. In the **Slack Channel Name** field, enter the name of the Slack channel you want to use for notifications.
4. In the **Cloud Alerting Display Name** field, enter a short descriptive statement. Monitoring displays the value of this field on the **Notification channels** page.
5. Optional: To test the connection between Cloud Monitoring and your Slack workspace, click **Send test notification** . If the connection is successful, then you see a message `This is a test alert notification...` in the Slack notification channel that you specified. Check the notification channel to confirm receipt.
6. If the Slack channel you want to use for notifications is a
private channel, then you must manually invite the
Monitoring app to the channel:
1. Open Slack.
2. Go to the channel you specified as your
Monitoring notification channel.
3. Invite the Monitoring app to the channel by
entering and sending the following message in the channel:
```
/invite @Google Cloud Monitoring
```
You must invite the Monitoring app to the private
channel you specified when creating the notification channel in
Monitoring. Inviting the Monitoring app
to public channels is optional.
### Webhooks
Before you configure a webhook notification channel, consider the
following:
- Webhooks only support public endpoints. A public endpoint is fully accessible from the public internet, such as by HTTP (`port:80`) or HTTPS (`port:443`). The notification service must be able to establish a connection to the endpoint and, in the case of HTTPS, verify the server's security certificate.
- If a Cloud Run function is configured as a webhook endpoint for a notification channel, then ensure the user invoking the function has the required authentication permission. For more information, see [Authenticate for invocation](https://docs.cloud.google.com/functions/docs/securing/authenticating.md.txt) and [Enabling access to a function](https://docs.cloud.google.com/functions/docs/securing/managing-access-iam.md.txt#enabling_access_to_a_function).
- To send notification data from Monitoring to Microsoft Teams, you must use an intermediary service such as Power Automate or [Cloud Run functions](https://docs.cloud.google.com/run/docs/deploy-functions.md.txt). Configure the service to receive the Monitoring webhook notification, convert the data into a Teams-compatible format, and forward the data to the appropriate Microsoft Teams channel.
#### Configure webhook notification channels
To configure webhook notifications, do the following:
1. **The webhook handler**: Identify the public endpoint URL to receive webhook data from Monitoring.
2. In the Google Cloud console, go to the
**Alerting** page:
[Go to **Alerting**](https://console.cloud.google.com/monitoring/alerting)
If you use the search bar to find this page, then select the result whose subheading is
**Monitoring**.
3. In the toolbar of the Google Cloud console, select your Google Cloud project. For [App Hub](https://docs.cloud.google.com/app-hub/docs/overview.md.txt) configurations, select the App Hub host project or management project.
4. Click **Edit notification channels**.
5. In the **Webhook** section, click **Add New**.
6. Complete the dialog.
7. Click **Test Connection** to send a test payload to the webhook endpoint. You can go to the receiving endpoint to verify delivery.
8. Click **Save**.
#### Webhook schema
To view the webhook schema structure for Error Reporting, click the following:
#### Schema structure, version 1.0
`{`
` "version": "1.0",`
` "subject"`:
string, description of the new or reopened error group.
` "group_info": {`
` "project_id"`:
string, project that owns the error group.
` "detail_link"`:
string, link to the **Error Reporting Details** page for the error
group.
` },`
` "exception_info": {`
` "type"`:
string, type of the exception logged in the event.
` "message"`:
string, exception message for the event.
` },`
` "event_info": {`
` "log_message"`: string
` "request_method"`: string
` "request_url"`: string
` "referrer"`: string
` "user_agent"`: string
` "service"`: string
` "version"`: string
` "response_status"`: string
` },`
`}`
#### Basic authentication
In addition to the webhook request sent by Cloud Monitoring, basic
authentication utilizes the HTTP specification for the username and
password. Cloud Monitoring requires your server to return a 401
response with the proper `WWW-Authenticate` header. For more
information about basic authentication, see the following:
- [RFC Specification](https://www.ietf.org/rfc/rfc2617.txt)
- [Basic authentication](https://en.wikipedia.org/wiki/Basic_access_authentication)
#### Token authentication
Token authentication requires
a query string parameter in the endpoint URL and a key that the
server expects to be secret between itself and Monitoring.
The following is a sample URL that includes a token:
`https://www.myserver.com/stackdriver-hook?auth_token=1234-abcd`
If Monitoring posts an alert to the endpoint URL,
your server can validate the attached token. This method of
authentication is most effective when used with SSL/TLS
to encrypt the HTTP request, preventing unauthorized third parties
from learning the token.
For an example server in Python, see this
[sample server](https://gist.github.com/tschieggm/7604940).
### Edit and delete notification channels
To edit or delete a notification channel by using the Google Cloud console,
do the following:
1. In the Google Cloud console, go to the
**Alerting** page:
[Go to **Alerting**](https://console.cloud.google.com/monitoring/alerting)
If you use the search bar to find this page, then select the result whose subheading is
**Monitoring**.
2. Click **Edit notification channels**.
The **Notification channels** dashboard contains a section for each
type of notification channel. Each section lists all configurations for
that type:
- To modify an entry, click **Edit** . Click **Save** after your changes are complete.
- To delete an entry, click **Delete** . Click **Delete** in the confirmation dialog.
> [!NOTE]
> **Note:** You can't delete a notification channel by using the Google Cloud console when the channel is associated with an alerting policy. However, you can delete the channel by using the Google Cloud CLI or the Cloud Monitoring API. For more information, see [Create and manage notification channels by API](https://docs.cloud.google.com/monitoring/alerts/using-channels-api.md.txt).
## Notification behavior and limits
The following sections describe notification contents, triggers, and rate limits
in Error Reporting.
### Notification contents
Notifications for error groups contain information related to the log entries
in the group. The included information depends on the type of monitored
resource in which the error event occurred. For example, some notifications
might contain the name and version of the monitored resource.
A message that describes an error event is included in the notification only
when the error group is
identified by the log entries in a log bucket whose region is `global`.
### Notification triggers and resolution
Error Reporting sends a notification in two scenarios:
- When an error event occurs and there isn't an existing error group.
To receive future notifications for the error group, you must set the
error group status to **Resolved**. No other actions, like using the API to
delete the error group or waiting for the data to age out, result in a
notification if another error event occurs.
- When an error event occurs for an existing error group and the error group
status is set to **Resolved**.
Error Reporting updates the status of the error group to
**Open**.
Error Reporting doesn't send notifications when
error events occur and the corresponding error group status is **Muted**.
To manage the resolution status of your error groups, go to
[Manage error groups](https://docs.cloud.google.com/error-reporting/docs/managing-errors.md.txt).
### Notification rate limit
Error Reporting uses the following rules to limit the number
of notifications you might receive due to error events:
- At most 20 notifications per Google Cloud project can be sent in a 60-minute
window.
- If more than 20 error notifications across a Google Cloud project occur in a
60-minute window, then the following occurs:
- You receive a notification that further
notifications for the Google Cloud project are silenced for the next six hours.
- A log entry with a `WARNING` severity level is written.
- When you resolve an error group, notifications for that error group are
suspended for five minutes.
### Mobile notifications
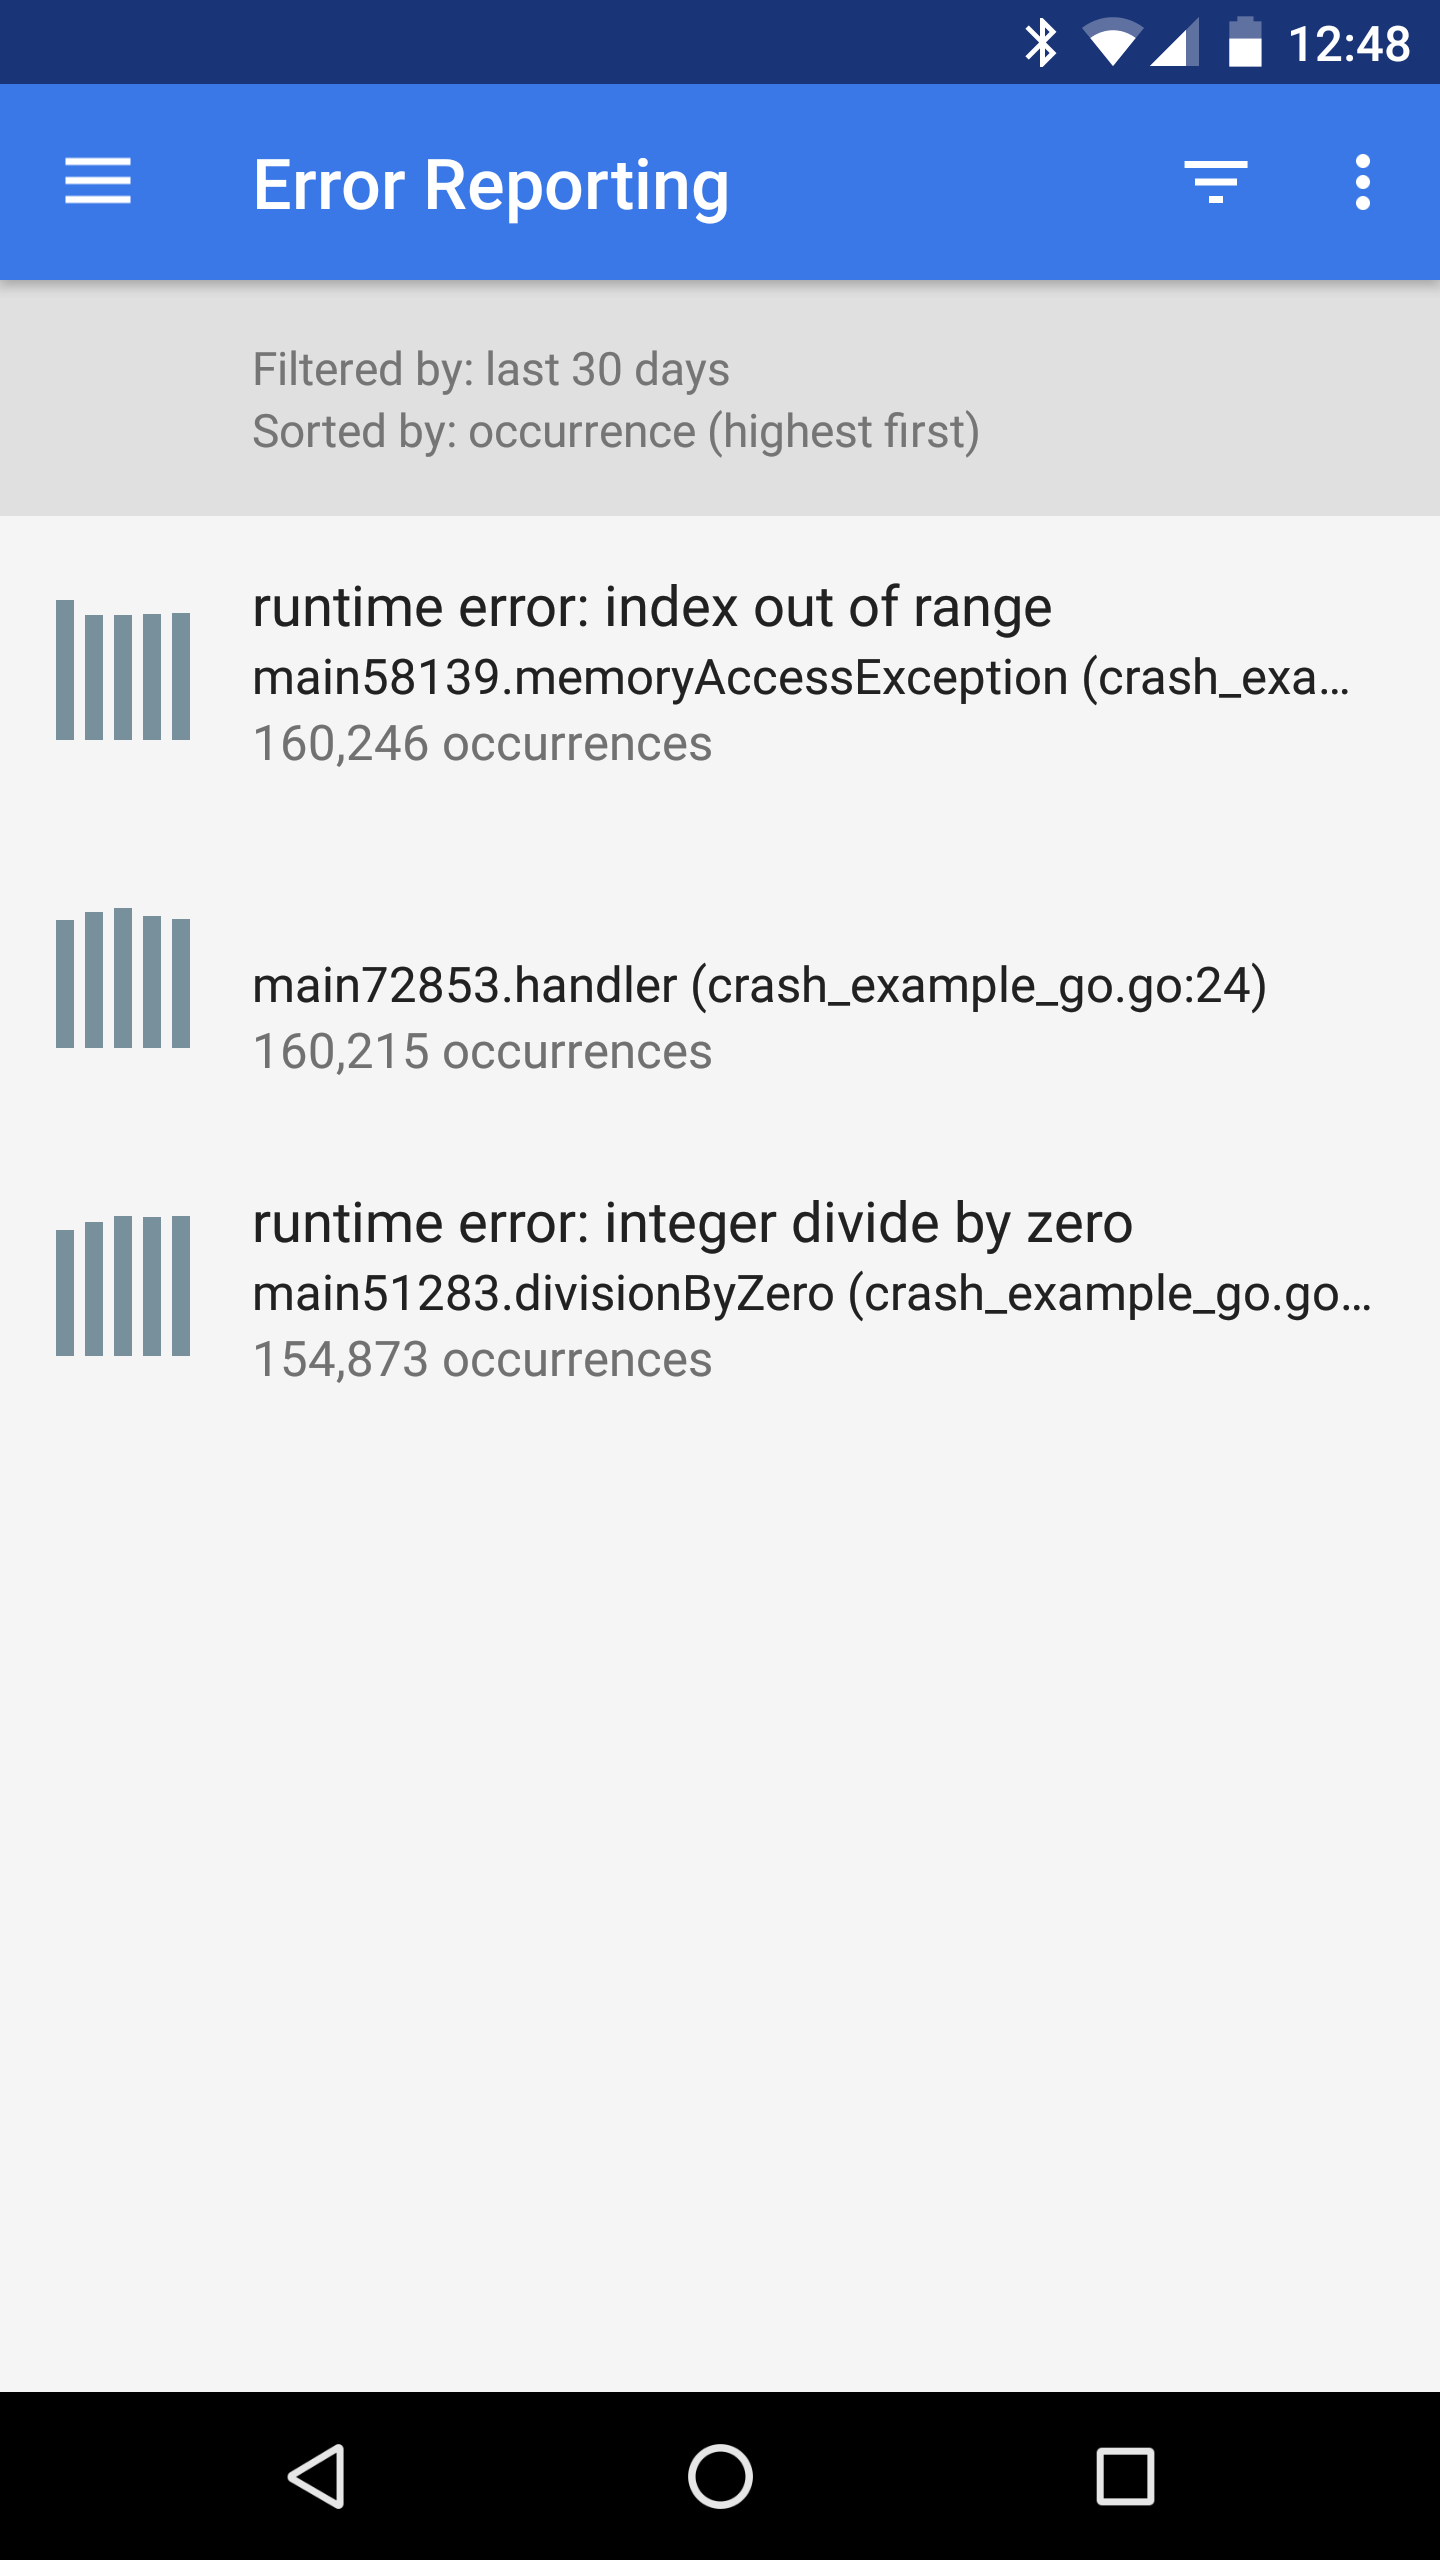
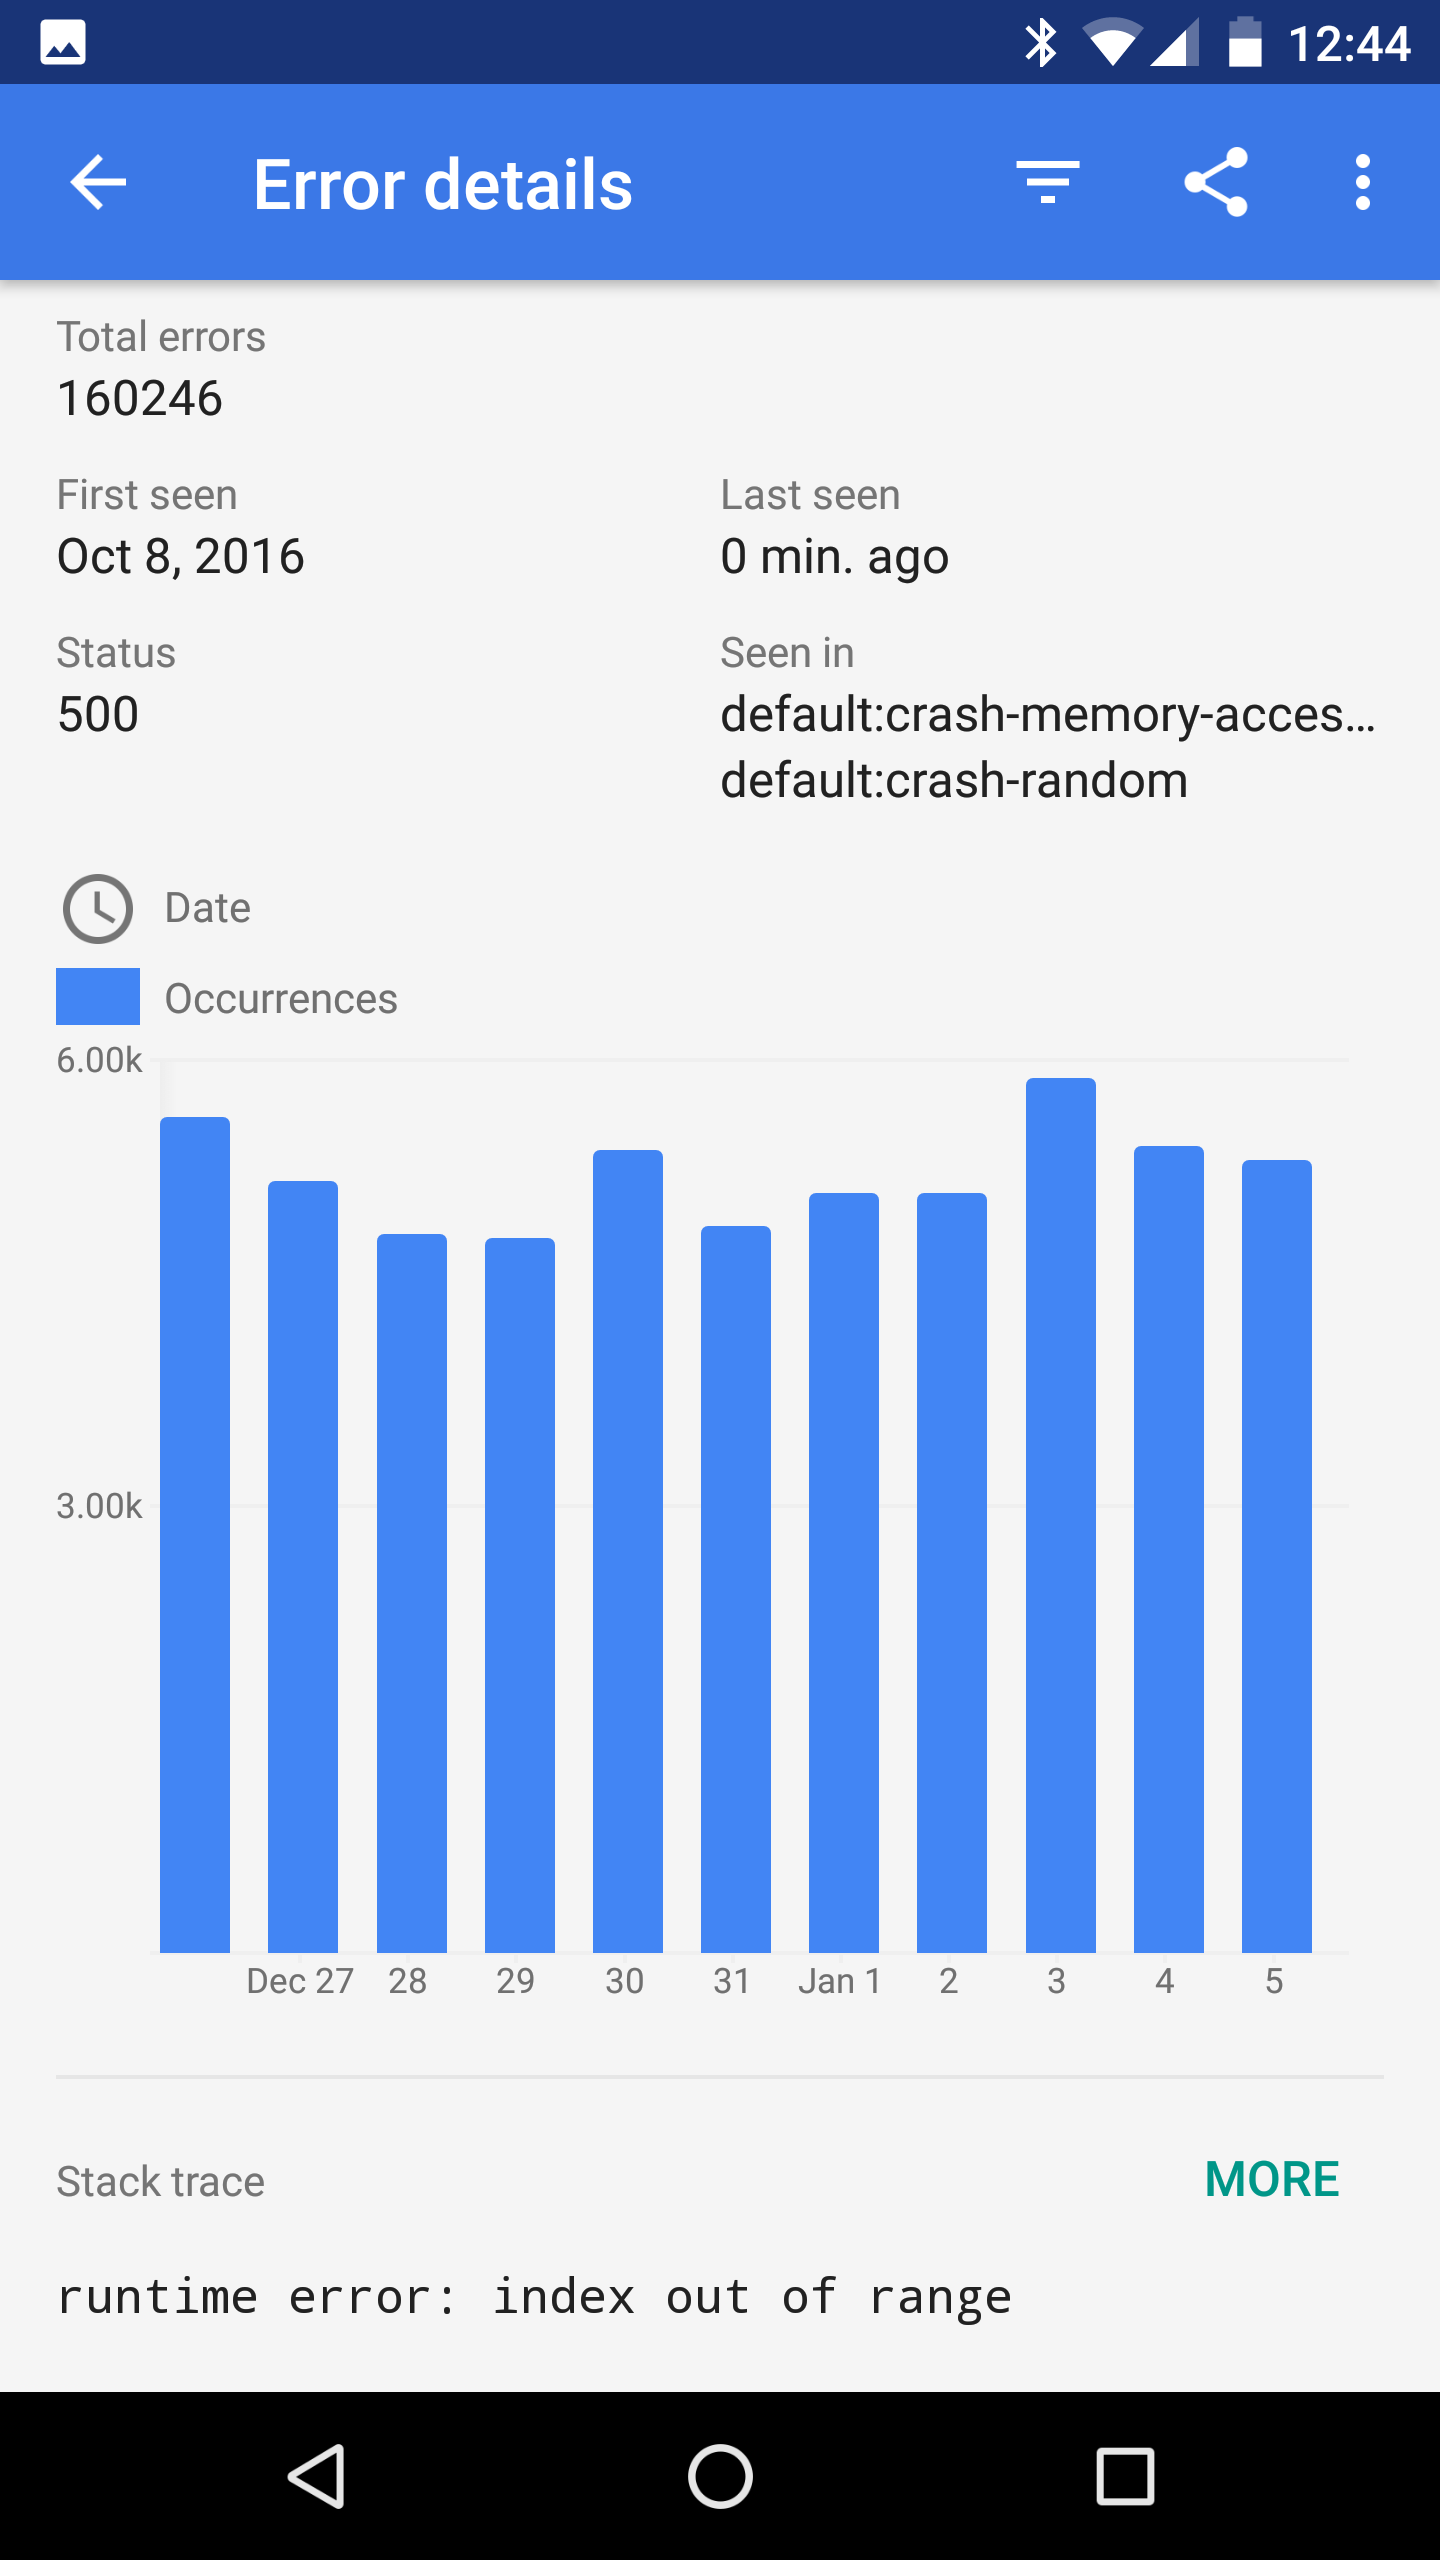
Error Reporting sends mobile notifications to the
Google Cloud app on Android and iOS. To receive mobile notifications,
you must first install the app on your mobile device:
[Download the Google Cloud app](https://cloud.google.com/app/)
## What's next
- [View and filter error groups](https://docs.cloud.google.com/error-reporting/docs/viewing-errors.md.txt)
- [Manage error groups](https://docs.cloud.google.com/error-reporting/docs/managing-errors.md.txt)